I still need to post some after shots of Pinkie - the house I was building - but in the meantime I started rehab on another building. This apartment was originally meant to look like the apartment from New Girl and it looked pretty good too, but I went through my CC and got rid of a lot of it and it didn't look the same anymore...
So while I try to figure out what sims family I'm going to move into a new New Girl apartment I decided to rehab this apartment.
But the lobbies in Sims 3 apartments look like crap.
So I decided to fix the lobby up first:
I didn't start taking screenshots until quite late in the remodel so here's what I accomplished before this screenshot:
1) Knocked down all the walls and replaced the hidden room markers with public room markers (those are the little silver balls).
2) Placed a counter and chandelier; put the mailbox on a wall behind the counter.
3) Placed windows on the outside walls.
4) Moved the elevator to the back of the room and placed the call box in front of it.
5) Placed wall lamps and CC flamingo wallpaper.
6) Knocked down everything and added wall recessing with windows in each nook.
7) Turned the single wall with arches behind the counter into a single block room with no doors to create a more solid partition.
So these next pictures are Lobby Stage 2.
A closeup of the flamingo wallpaper.
This is a Pink Flamingo Lobby.
I'll probably rename the building later.
I replaced the ugly steel door with a less ugly steel and glass door.
It is from Island Paradise.
The wallpaper on the columns is basic wallpaper with a texture from the rubber and plastic category.
It looked pretty cool as an accent.
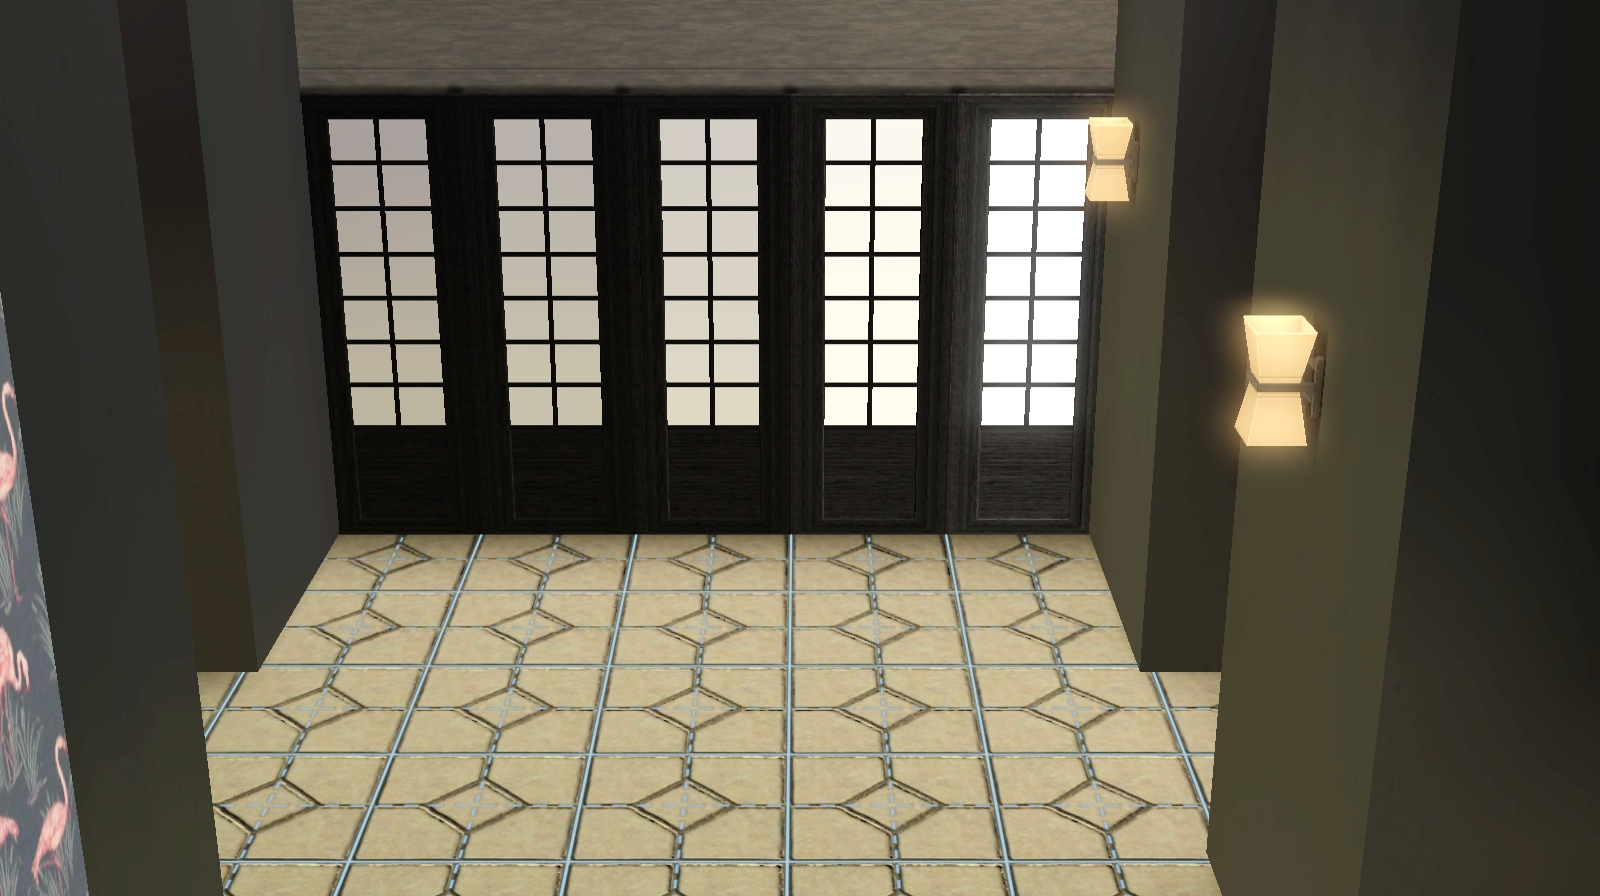
This is a look at the layout from above.
The windows are CC.
They're part of a Japanese style windows and door set from The Sims Resource.
Another shot of the windows. I'm not sure why but the lobby walls are double the height of regular walls.... And I don't know how to change that. I'm ok with how it looks for now, but it is pretty weird that I can only place things on the bottom half.
Stage Three of Lobby Remodel:
Decoration.
The walls and wallpapers and windows are decided.
So now I move on to the floor and decoration.
The floors are from Late Night but I recolored them to match the flamingo walls.
And of course now there are plants everywhere.
Since this room is very symmetrical I continued that with the plants.
So all of the plants are placed to mirror the plant that matches them.
Only large plants in here though.
I may add some small ones on the counter later, but I like the counter as it is.
I placed couches in the recessed areas.
I didn't want too many couches or too much furniture to clutter the place because I felt it would look to much like a hotel lobby.
It probably does still look too much like a hotel lobby.
But apartments I've seen usually have a clubhouse or meeting area in them, so this lobby could multi-function as such.
There are two TV's and two chaise looking couches.
For lounging. And watching TV.
Because amenities.
Its a nice cozy area to get to know the neighbors.
Windows and floors and couches and plants.
Looking nice.
The elevator. The call box is the only asymmetrical thing in the room...
But you cant have two of those I don't think.
I just can't get over the flamingos. That's why I kept taking screenshots.
I love them so much.
And now we move to the apartment itself.
These are some sample color swatches.
Some are from the old apartment, the painted brick is new though.
I love the painted brick aesthetic.
I redid the hall outside the apartment to match the lobby.
And I remodeled the apartment to take up two floors instead of one.
I removed the windows and replaced all the walls.
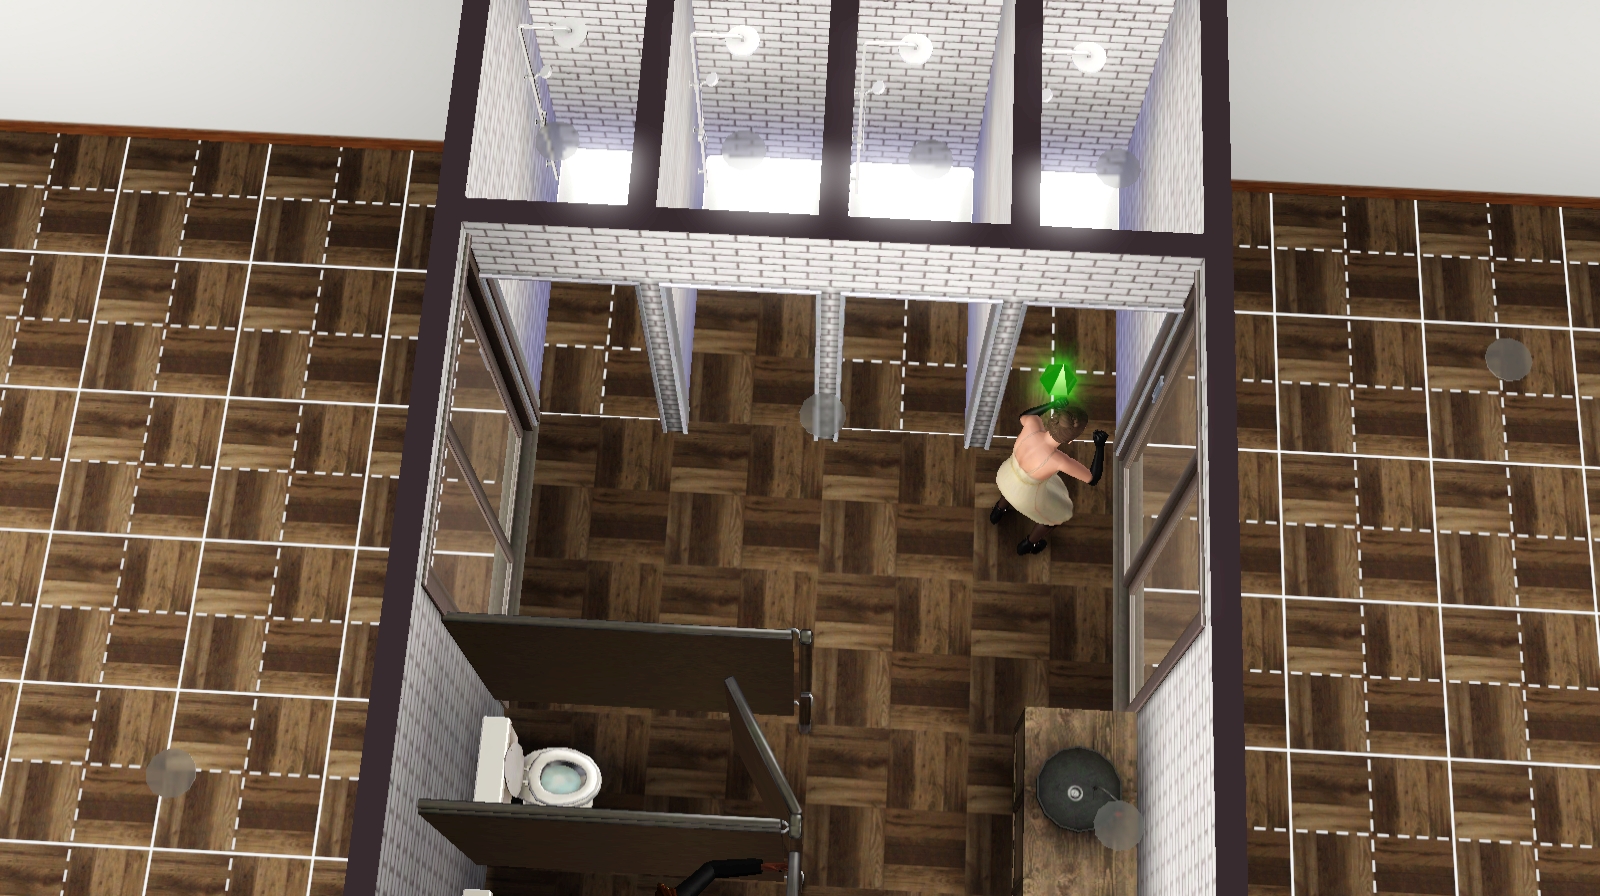
The first step was the bathroom.
I have three YA sims who are all friends living in this apartment.
One of them has a child.
I only wanted to have one designated bathroom to keep the floor plan nice and clean.
So the bathroom is crammed into the extra space between the end of the hallway and the outer wall.
The showers are all functioning. The doors function. The toilets and sinks function.
The ceiling lights are kinda ugly but I will fix that later.
Here we have some sims testing the bathroom.
The plain brick texture managed to look almost like a subway tile once it was recolored.
Did I say this family had a LOT of CC that is no longer in my game?
Because they had a LOT of CC that is no longer in my game.
This apartment is two stories so here is some preliminary staircase placement.
This was mostly made to get all the sims down to the first floor so I could build without having to move them later.
This is the second floor.
It took forever to place the box windows.
They are CC from The Sims Resource.
I think they're called Nexoria windows.
They had blinds but I got rid of those.
They took forever to place.
You have to place them one out from the wall so I had to shrink the wall by one space for bottom and top and keep the floor in place.
They look weird when the floor is against them so I created an open area.
Which actually made the top floor look very nice so I'm pretty happy with it.
I love open lofty looking floor plans. But they are difficult to make in the sims.
Well its difficult to make them look natural and nice.
They have a lot of crap upstairs because there are a few things you can't put in the family inventory.
And a few things you can, but I didn't want to.
One of the sims is in the athletic career, but she also grows coffee beans and sells them on the side.
Did you know a Very Nice Red Berry bean sells for like 100 simoleons?
If you have broke sims have them grow a couple of Red Berry beans.
I love those windows.
They look so freaking cool.
Its totally worth all the hair pulling that comes with the stress of placing them all.
Another shot that is basically me drooling over those windows.
And here I decided to copy the windows on the other side. Because... symmetrical.
I have no idea where the bedrooms will go.
Another drool worthy architectural-gasm shot.
This also means that I had to shrink the loft area.
So now it looks like an actual loft area.
You know that loft area from the show Bones?
Like there was the lab area below but above there were those walkway things?
That's what this reminds me of and I'm really pleased with it.
Another of the downstairs.
And another of the downstairs.
I placed some windows in the rooms upstairs.
Not sure why.
But I feel it adds something....
Something that was missing...
Something like windows...
Yeah.
I need to have my sim water her plants.
So next I will be working on the rooms for this apartment.
I need to draw more walls... But I'm not sure where they will be.
You'll just have to look for Part 2 to see!


